
Introducing PhotoModeler’s New Letter Sheet Target System
Do you fabricate a product that requires accurate and complex measurements on site?
For example:

Unless the shapes are simple, like rectangles, these types of projects usually can’t be measured with a tape measure and sent off for fabrication.
Sometimes the shapes can be templated with cardboard or plastic, or sometimes they can be digitally traced, though awkwardly, using arm, string, and tablet-based systems.
The Better Way
Have you ever wanted to trace a large and/or complex shape on a photo, and digitally send that scaled and dimensionally accurate shape to a printer or cutter for production?
Have you ever thought you could do that with a camera and software? …even though photos have to be handled correctly to get rid of all distortions for accurate results?
In a earlier blog post we talked about Presets and how they can help your Coded Target projects. In this post we talk about a product that fits well with Presets and answers the above questions - called PhotoModeler Letter Sheets.
With PhotoModeler and the new Letter Sheet Coded Target detection system you can do these fabrication projects in a few easy steps:
1.
Lay down some targets.
2.
Take some photos.
3.
Import photos and launch automated project.
4.
Trace the shape(s).
5.
Export the model.
Use the target system when you need a scaled, digital model for fabrication of simple or complex shapes of various sizes from on-site or in-factory photos - most advantageous for large shapes or patterns on relatively flat surfaces.
How it works
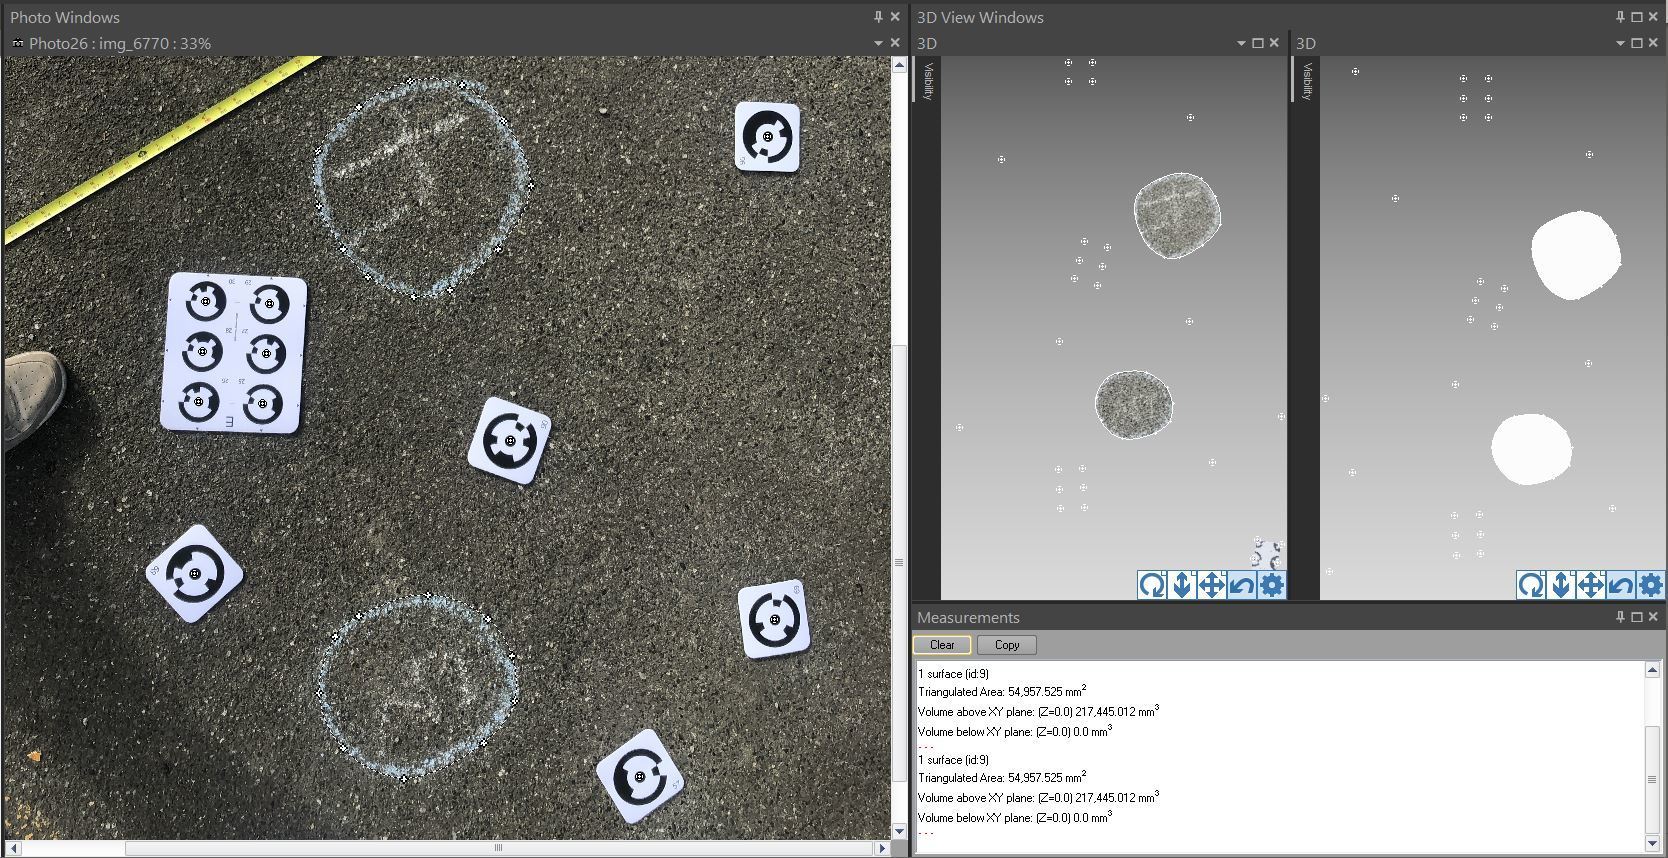
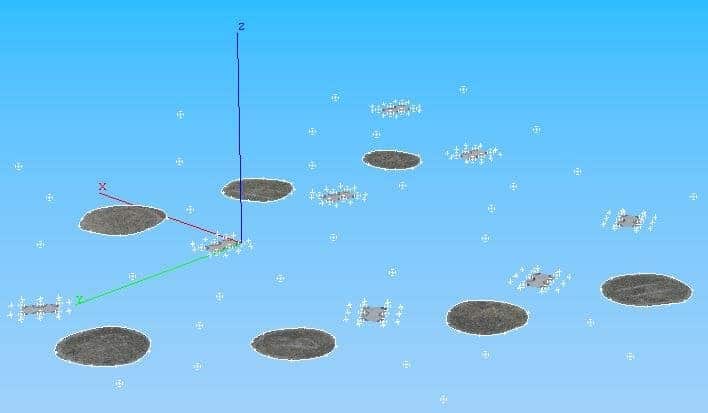
In order to trace a shape in a photo, PhotoModeler needs to define ‘planes’ in the 3D space (conceptually like the cardboard or plastic templates that are sometimes used to trace a shape). Targets in the scene are used to define these planes on which the shapes can be traced. Not all shapes that are to be traced in a project need to be on one plane, as multiple planes can be defined in a 3D project at various levels.
The Letter Sheet coded target patterns of circular targets are automatically detected in multiple photos, their 3D positions are automatically calculated, planes are automatically defined, and the real-world coordinate system and scale are automatically set up.
All you do is trace the shape(s) of interest and export! It is very efficient and PhotoModeler takes care of all the complex mathematics for you!
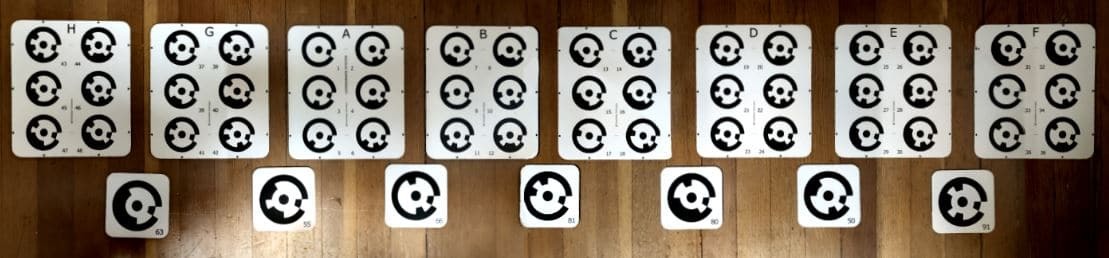
The Letter Sheet System Targets for Different Applications
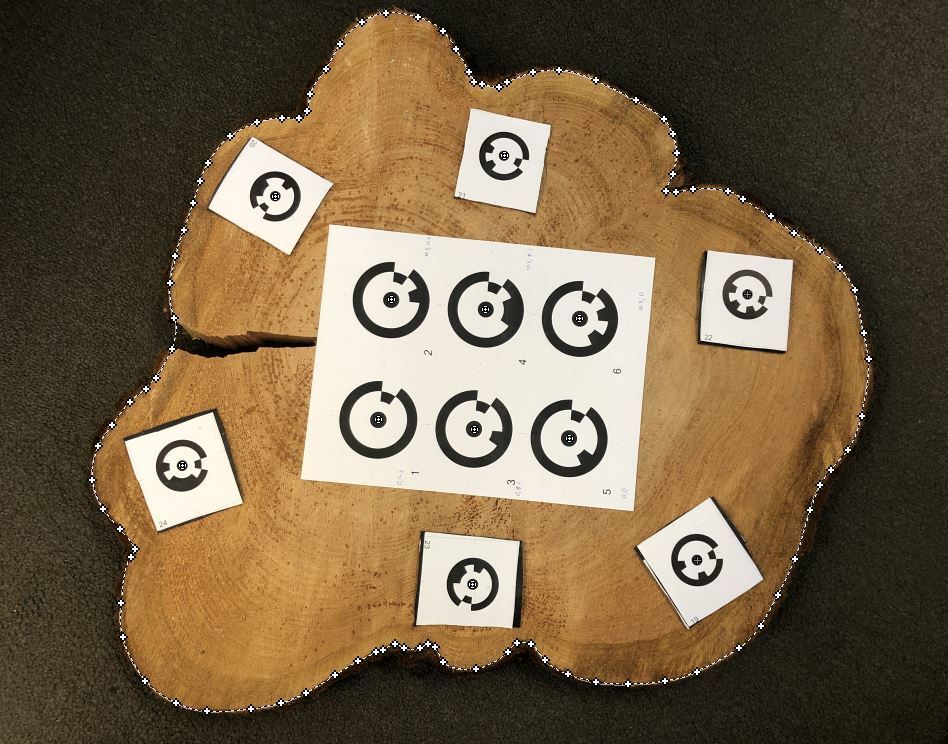
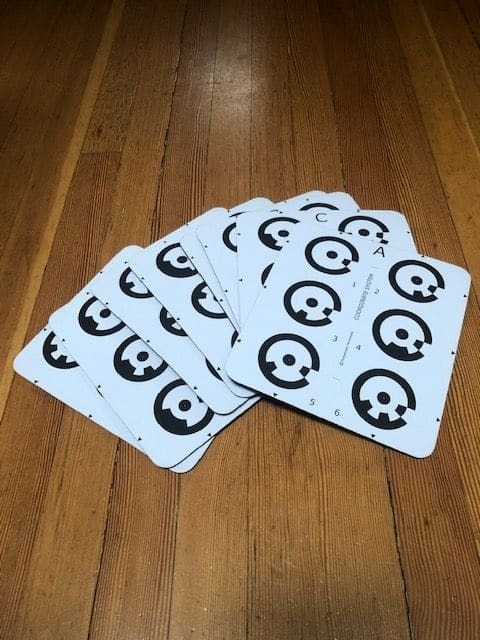
Letter Sheet Targets
The Letter Sheets have six (6) coded targets each, and are approximately 190mm x 215mm (7.5” x 8.5”) – about the size of a mouse pad.
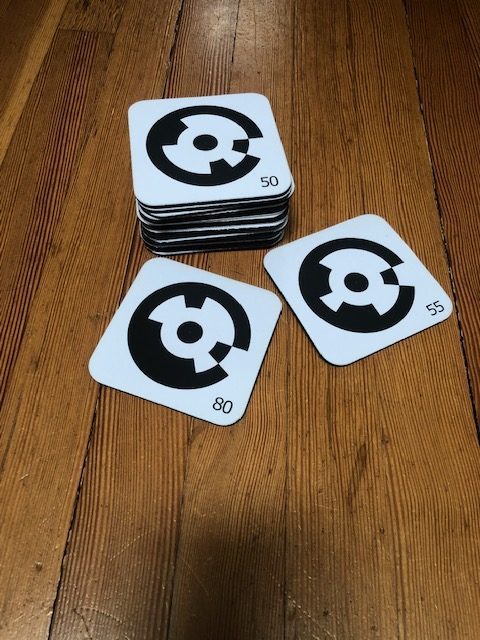
Individual Targets
The individual targets found in the Letter Sheet System are about 100mm x 100mm (4” x 4”) – about the size of a coaster.
How to Use the Letter Sheet System
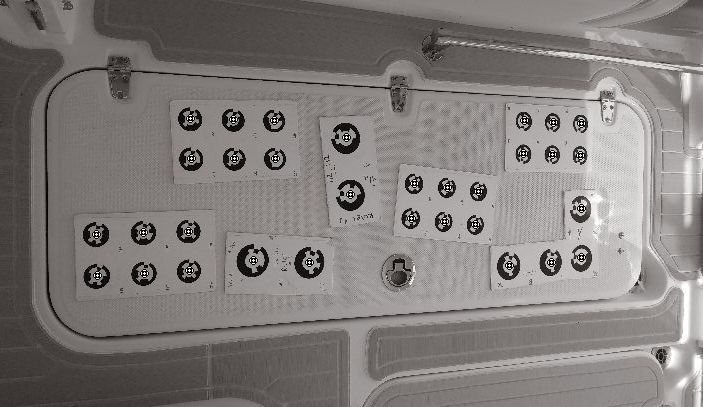
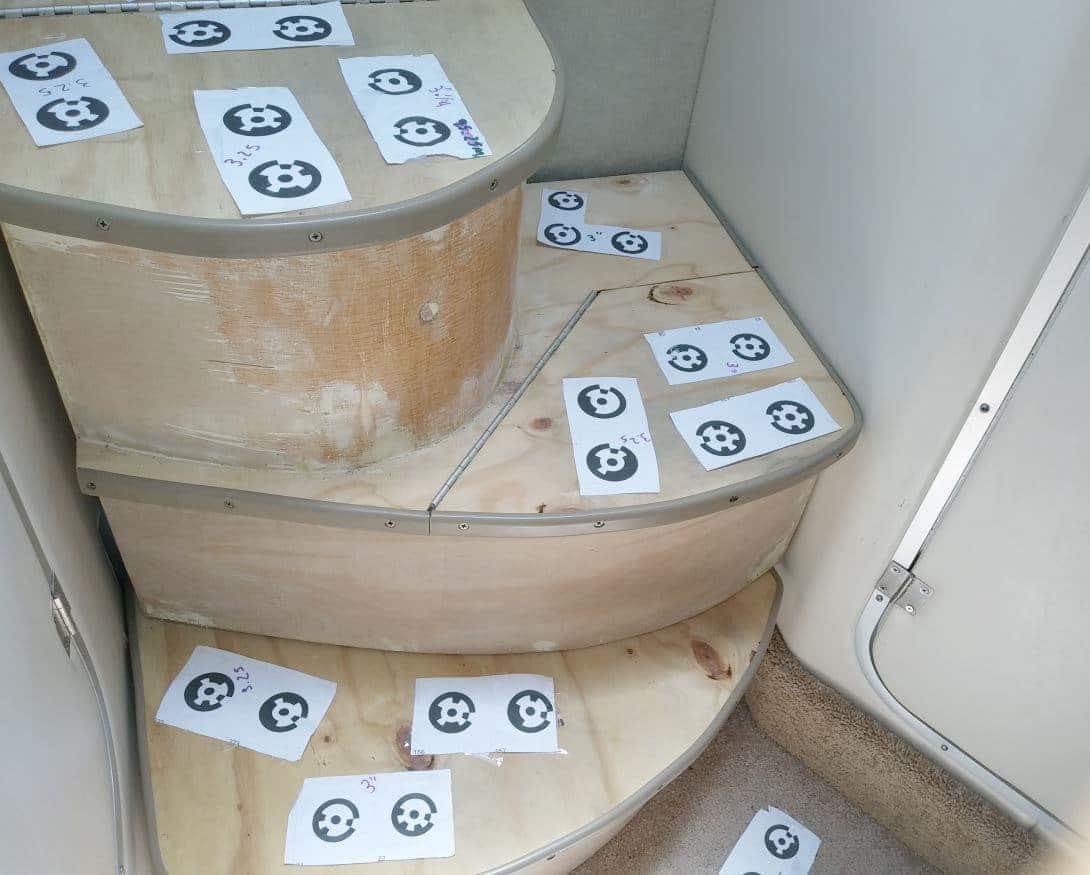
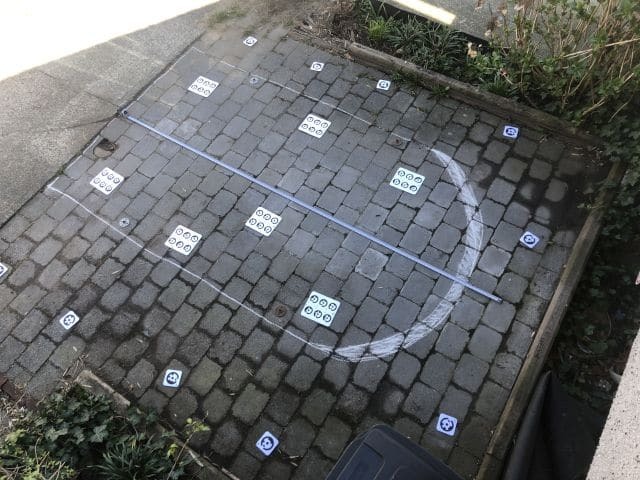
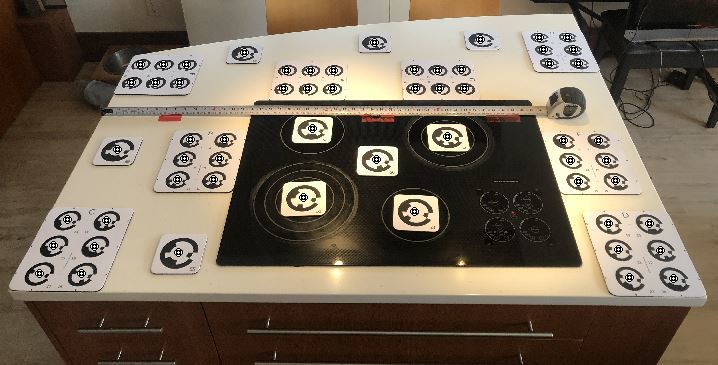
01 Spread the targets throughout the scene:
Place Letter Sheets on flat areas in specific areas of interest, and individual targets throughout the scene (including areas not necessarily measured but visible in photos between Letter Sheets). It is important the target count is high enough so there are enough targets in each photo (aim for 10+ targets in each photo – so two Letter Sheets or a Letter Sheet and a few individual targets in each photo.
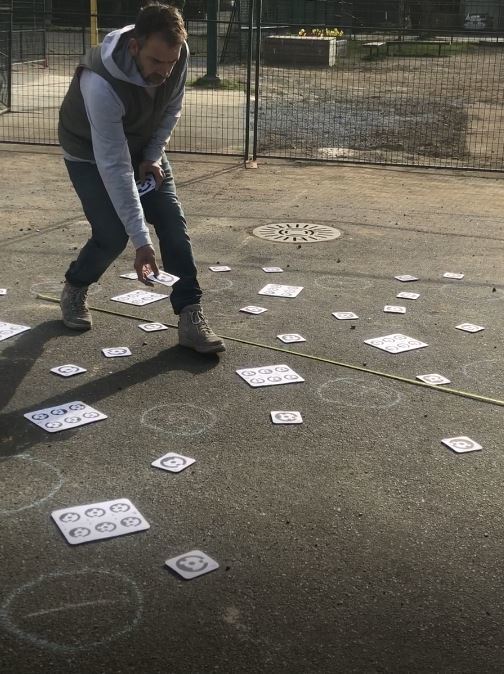
02 Take overlapping photos:
Ensure that there is enough overlap between photos and that 10 or more targets are visible in each photo. You want photos to be ‘connected’ by several targets.
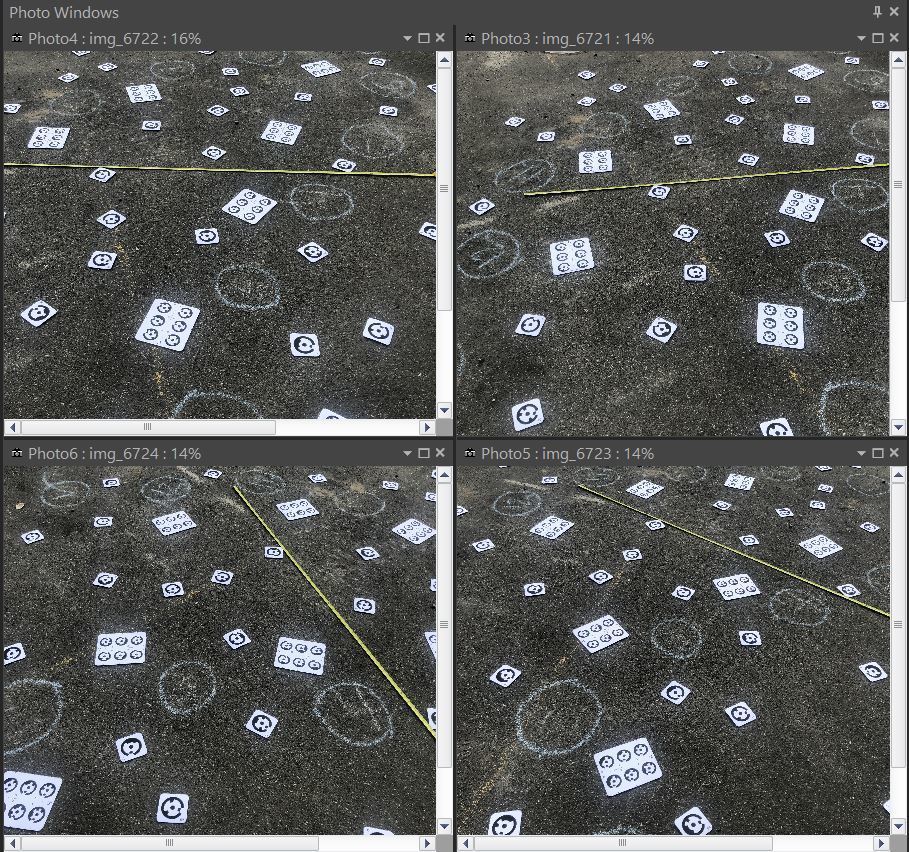
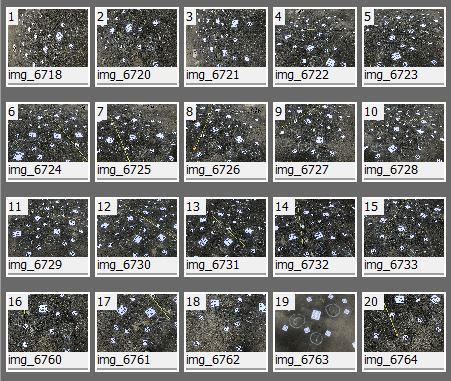
Generally, place more targets than you think, and take more photos than you think. You don’t necessarily need to use all the photos in the final project.
03 Import photos and launch project:
Launch a ‘Letter Sheet Automated Target Project’, import the photos, and target points are detected, the coordinate system gets set up, and optionally planes, lines and offset points are formed.

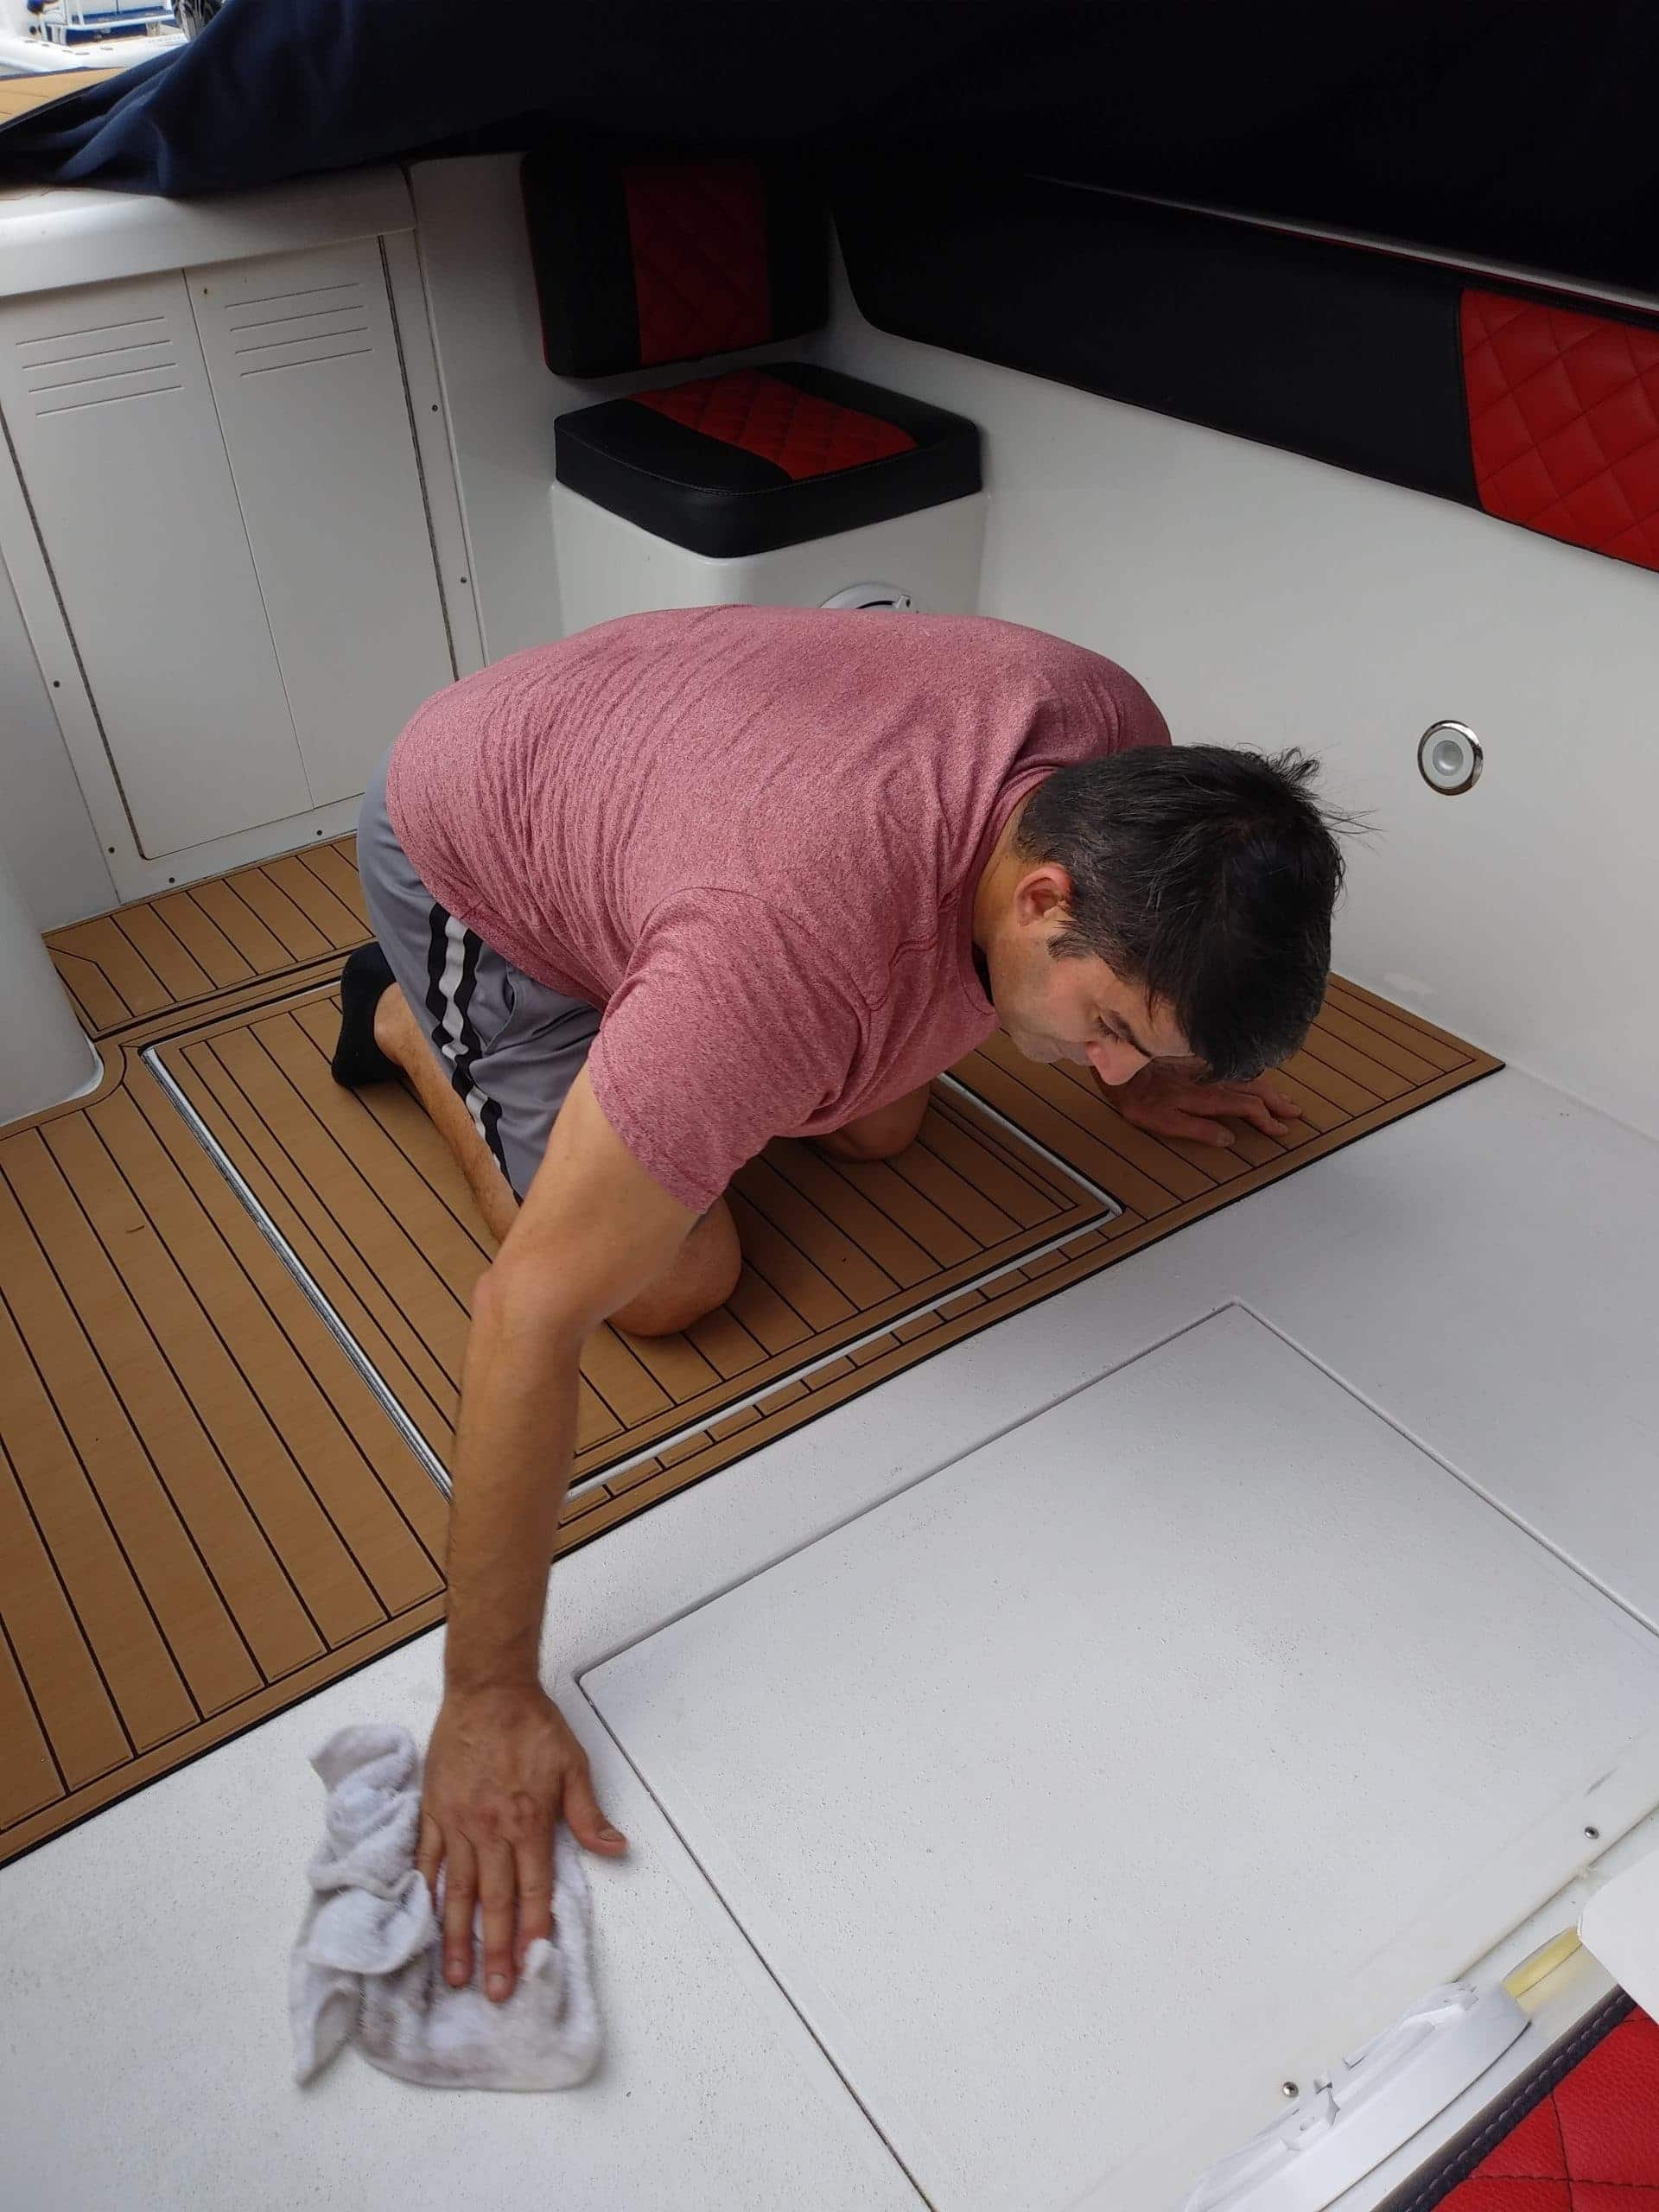
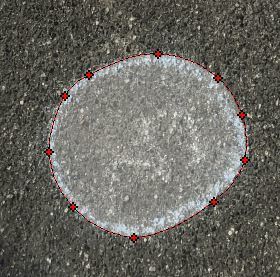
04 Trace the shape(s):
Trace the shapes of interest in one or more photos using PhotoModeler's Surface Draw tools.
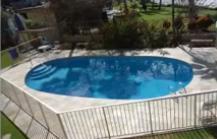
These can be deck textured regions, counter-top edges, pool edges, etc.
05 Export the model:
Once the shapes have been traced, the model can be exported from PhotoModeler, and sent to your CAD package, cutter application, or printer etc.
Acquiring Letter Sheet Target Sets
PhotoModeler Technologies has the Letter Sheet system available in three styles to fit your requirements: