
How to Measure Boat Canvas, Decks, Sails, and Hulls with a Camera
Did you know that you can use a camera to measure a boat for replacement canvas, decks, or sails? Or measure hull or sail shape with a camera? This is possible with the technology called photogrammetry. The PhotoModeler software is the premier software for carrying out photogrammetry with your boat project.
[ links updated April 2021 ]

Applications
There are several ways that photogrammetry can be used in the boating industry. You can use your camera (or in some cases, the camera on your mobile phone) to get accurate measurements for boat refit projects.
On this page, we focus on refits, renovation, etc. - that is, working with existing boats and yachts to modify or create different products.
PhotoModeler is a photogrammetry software tool that is used by many worldwide in several boat-related applications. Some of the applications are:
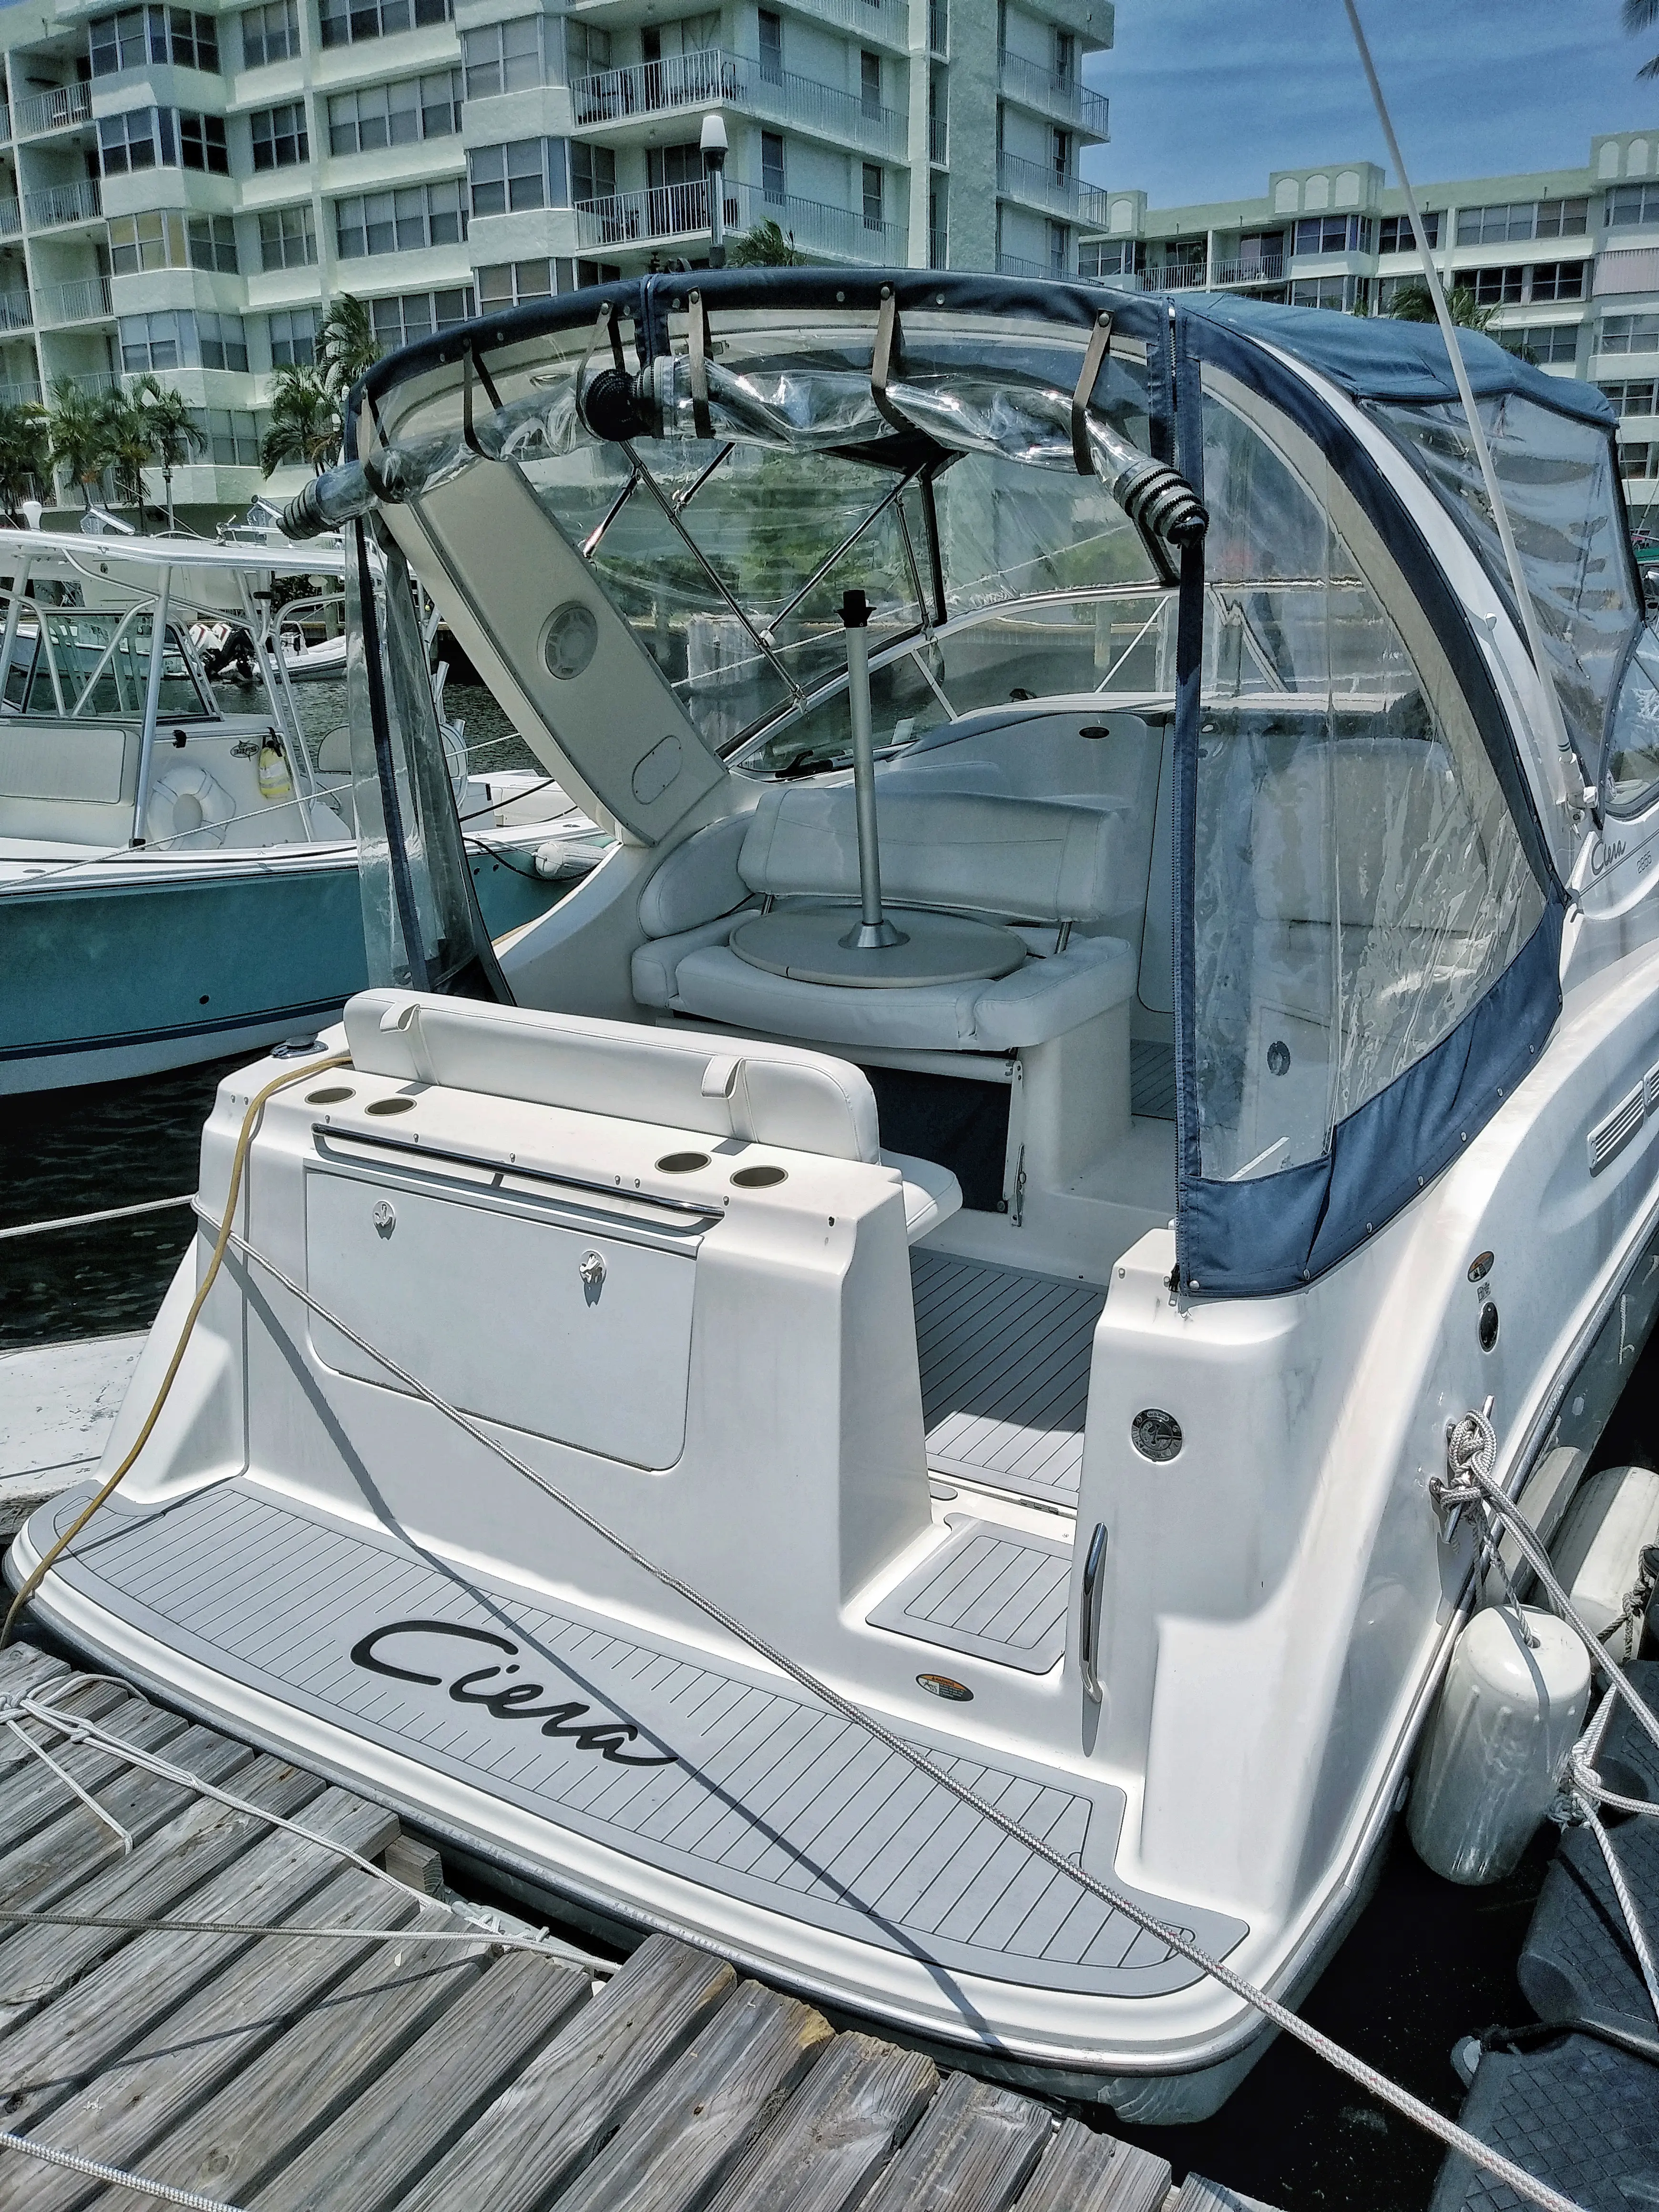
Boat canvas measurement
Boat canvas measurement includes measuring rails, tubes, tube/rail attachments, and existing canvas for the creation of new or replacement biminis, dodgers, sprayhoods, furniture, and other covers in canvas and other materials. This can involve measuring 2D templates and patterns, or measuring boats directly.

Boat decking measurement
Boat decking measurement is for the placement or replacement of new vinyl, wood, and other material deck panels. This includes flat, and close-to-flat, irregular shape measurement, and optionally tying it together for creating multi-piece logos or boat names.
Sail measurement
Sail measurement can take two forms: a) digitizing individual flat sail panels (like canvas measurement), or b) measuring the profiles and shape of a sail underway.

Hull measurement
Hull measurement is for getting the 3D shape and profile curves of hulls for analysis, modification, and marine surveying.

Why Use a Camera to Measure?
There are several technologies for measuring boats such as wired probes, laser pointers, laser scanners, and white-light scanners. How does using a camera and photogrammetry software compare to these technologies? You can consider PhotoModeler to be another ‘tool’ in your collection of measuring tools. Each technology has its benefits.
Some of the benefits of using a camera and PhotoModeler for your boat measurement tasks are:
- Low cost: for most jobs, you can start with a good camera and PhotoModeler for under $2000 us. PhotoModeler is also available as a monthly subscription, saving even more on upfront costs. If you have a camera (even a mobile phone camera to start), you can start with just a $65 us/month cost!
- Flexibility: photogrammetry can be used for many different types of measurement tasks.
- Accessible field use: for jobs away from the factory, often all you need is a camera.
- No boat or site revisits: photographs capture all the data, so it is easy to ‘revisit’ if you forgot a measurement or an annotation.
- Use on the water: for many project types, it does not matter that the subject (a boat) is moving.
- Use in different conditions: can use in a variety of weather and lighting conditions, including bright sunlight.
The Easier Measurement for Retrofit Manufacturing and Photogrammetry Accelerates Creation of Marine Enclosures articles have additional background.
Where to Start
Are you new to using CAD, CAM, or CNC in your boat canvas or decking business? You may be wondering where to start. If you are new to CAD, start with getting a CAD program and learning it. Learn how it interfaces with other CAM/CNC software. Many in the industry use Rhino, but there are other choices. Rhino is reasonably priced, and PhotoModeler interfaces with it well. Then get an understanding of CNC and passing digital files to a CNC (cutter) of your own (or a partner’s), to ensure you have a good workflow.
Once you have a grasp of the CAD and CNC workflow, you will need to digitize templates. You are probably using 2D physical templates in paper or Mylar now. Use PhotoModeler to digitizing the 2D templates. This is a good place to start with PhotoModeler as it is the simplest and best-documented procedure.
Typically, the first PhotoModeler CAD workflow to master is:2D physical template -> PhotoModeler 2D digitize -> CAD -> CNC
Once you are having success with this, you can work towards more advanced methods.
Note: We always recommend that you start your first PhotoModeler project in the office, and a small one. Get used to doing a small, simple project start to finish in a controlled environment before working in the field.
What is Needed
You will need this equipment and software to use photogrammetry in your boat project:
- CAD software (Rhino or similar).
- Any software for working with your CNC cutter, if not doing hull and sail shape.
- PhotoModeler Standard software.
- A camera – a mobile phone is ok to start experimenting and for some fieldwork, but long term, a higher quality camera with prime (non-zoom lens) is preferred.
- Optional mount and remote camera control for permanent 2D digitizing setups.
- Optional target mark sheets that can be printed directly from with-in PhotoModeler (click here to be informed of manufactured target sheet availability).
How to Start by Technique
This section is divided into each of the five different techniques as outlined above. There is an introduction, a list of resources, and some description of what is needed for each one. The use of photogrammetry and PhotoModeler is relatively new to the boat refit industry, and companies operate with different procedures and workflows. As such, some of the techniques are works-in-progress and are still being refined and documented. Please contact us to get details on how PhotoModeler can be used for your specific tasks and needs.
Starting with 2D Template Digitizing
Digitizing 2D templates is the process of extracting the accurate digital outline of paper and Mylar physical templates and patterns (or canvas or sail pieces) that are laid flat in your factory. This is the easiest place to start with PhotoModeler if your application uses or can use templates. You should be comfortable with 2D CAD and the CAD/CAM workflow. Procedure documents and videos are available:
You can start as simply as using your existing mobile phone camera, or other camera you might have, and a copy of PhotoModeler Standard. We recommend you start with the Moving Camera Reusable setup as described in the videos above.
Starting with Complex Shaped Decking
Complex shaped deck measuring captures the outlines of panels of a deck directly on the boat with no intermediate template step. You should be comfortable with 2D CAD and your CAD/CAM workflow and possibly also familiar with more advanced CAD tools such as flattening. You can start as simply as using your existing mobile phone camera, or other camera you might have, and a copy of PhotoModeler Standard. The Deck Procedures page has more information.
Starting with 3D Templating
3D Templating is the measuring of a boat directly for new or replacement canvas and skipping the physical 2D template steps. This is a more complex process and requires quite a bit more CAD experience. Your CAD knowledge should include working in 3D and working with flattening tools.
There are two forms of the 3D Templating technique that are being developed. A) 3D canvas measurement with targets and tapes: measuring of canvas on a boat using PhotoModeler’s target, tape system, and bent tube object. B) 3D canvas measurement with SmartMatch and DSM: using PhotoModeler’s automated SmartMatch and Dense Surface Modeling system. The latter B) would be for special cases and less accurate work (such as full boat covers).
A good place to get started is the How to Measure Marine Canvas with a Camera page. On that page find a form that can be completed to get the Using PhotoModeler To Measure Marine Canvas pdf file.
Starting with Hull and Sail Shape
Measuring hull shape of a vessel in dry dock is like other 3D PhotoModeler projects. These are often done with Coded Targets. See the Coded Target Tutorial video. Here is an article with real world results: The Case for Photogrammetry in Maritime Surveys.
A person in this field will be very familiar with 3D CAD and forming complex surfaces from point sets. PhotoModeler Standard (that includes coded target automation) is a good place to start.
Sails can be measured like 2D templates if they are off the boat and in the factory laid flat. See the 2D Template section above.
Measuring the shape of a sail underway will not be described here since it is very advanced, requiring multiple synchronized cameras and great expense. It is possible (America’s Cup racers have used it), but only for the very brave!
Other Resources
There are tutorials for all CAD packages to get you started. For example, for Rhino: https://www.rhino3d.com/tutorials
John Bland from Tecsew published a great introduction to CAD and the production in marine canvas in a digital workflow (cameras not mentioned). The first of these videos: First MFA Presentation.
Summary
If you are new to a digital workflow in your boat products business, start with 2D, learn Rhino (or similar CAD) in-depth, and get your initial workflow to CNC functioning. Then if you have the expertise available, you can start to think of 3D approaches and removing the 2D templating step. If 3D CAD work is new to you, you may want to wait until we have published those procedure documents and tutorial videos.
If you are doing deck replacement, you can start with some template digitizing experiments and get to know your CAD/CNC workflow. Then you can skip templating and do direct deck measurement. The PhotoModeler part of this will be easier to learn once we have published our procedures and videos for this area shortly.
Please contact sales@photomodeler.com with any additional questions.