
Tip 66: Interesting Ways to Set PhotoModeler’s 3D View
The buttons in the bottom right corner of the 3D View provide this user interactive dynamic control of the view. You move the mouse cursor over one of the buttons, click and hold the left mouse button, and then drag the mouse. In addition there are keyboard short cuts for these actions (ALT left mouse for rotate, +/- for zoom), and mouse wheel (roll wheel for zoom, click wheel for pan).

The farthest right 3D view button opens the ‘3D Viewer Options Dialog’. On the ‘View’ pane of this dialog you can see the default view position, zoom and rotation. The first settings are for top, bottom, front, back, left and right view. If you choose ‘front’ then the 3d view switches to look at the front of the model (defined as looking at the XZ plane down the Y axis). For these view defaults to make sense a coordinate system should be setup first.
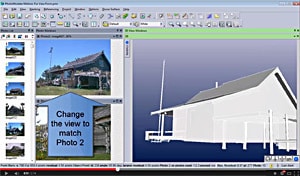
In addition to these standard views, there are two other interesting setups. The first is ‘View from Camera’. With this setting, the 3D View is aligned with a chosen photo. You can see the 3D view from exactly the same camera position as one of the photos in the project. The second is “Stored View”. With this setting you can rotate, pan and zoom to a desired view, then store this to return to at any later time.
Lastly the tip video shows the orthographic vs perspective view. The default is perspective view as that is what we are used to seeing in the real world (objects farther from the observer appear smaller). Orthographic view, on the other hand, all objects of the same size appear the same size regardless of distance from the observer. This is more CAD-like.
Watch the video below or on youtube.