
Tip 52: PhotoModeler Project Complete Backup
 This short tip demonstrates how to use the Project Backup tool in PhotoModeler.
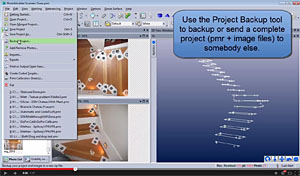
A PhotoModeler project consists of a data storage file called a PMR file (short for PhotoModeleR), and a number of image files. If you want to share the project with someone else you need to send the PMR file and all the associated image files. Ideally you send only the image files used by the PMR file (you may have more image files in the folder than are used by the project).
In addition you may want to backup a project after it is complete for archive purposes.
One could use a ZIP tool to build a backup file of the PMR and the images (possibly comparing the files in the folder vs what is used by the project). An easier way is to use PhotoModeler’s Project Backup tool. Under the File Menu, choose ‘Project Backup…’.
This tool let’s you set the folder (defaulted to where the PMR is located), and the file name (defaulted to name plus ‘backup’). In addition you can add textual notes to the archive. When you execute the tool, a standard zip file is created with the project’s PMR file, the images used by the project, and a text notes file.
Once created you can send the zip file to a colleague with confidence that when they open it in their PhotoModeler, they will have all the data they need. In addition, there is a link in the tool’s dialog to easily upload the zip file to Eos Systems’ Technical Support department (usually on request by tech support).
Watch the Youtube video to see how Project Backup works.