
Tip 69: Using 3D Glasses with the 3D Viewer
Did you know that you can set up the PhotoModeler 3D Viewer to display your model as a 3D stereo view for use with 3D glasses? It’s a neat to way to visualize your model by increasing the perception of depth, and it’s simple to set up in PhotoModeler. 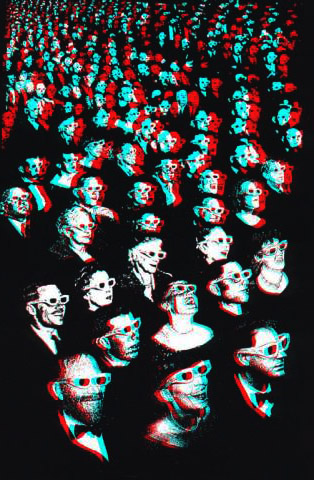
PhotoModeler uses the red/blue style of 3D glasses. Technically the term for this is an anaglyph image and is explained in more detail here.
You’ve probably seen the classic red/blue effect in movies or still images that, when wearing the appropriate red/blue 3D glasses, cause the image to pop out of the screen and accentuate the 3D illusion. Modern movies use a polarizing effect for 3D glasses but that is harder to achieve with a computer screen.
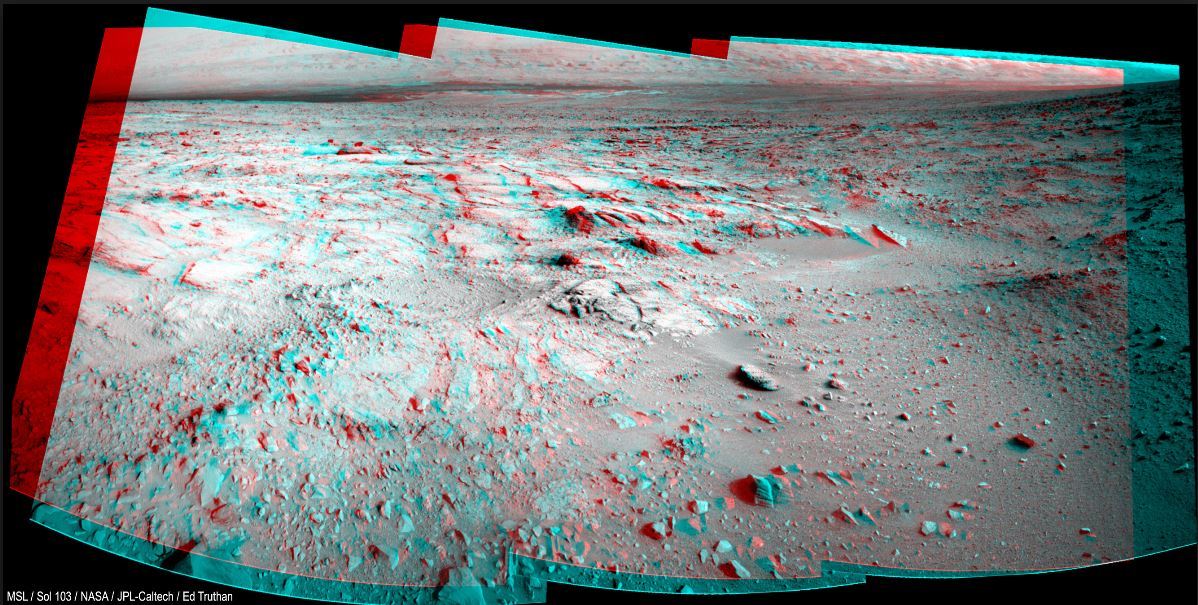
If you have some 3D glasses lying around, check out this example image taken on NASA’s Mars Pathfinder mission showing Martian terrain in 3D relief (click to enlarge):
Once you have a model built up in PhotoModeler, you can simply turn on the 3D stereo feature and set the offset in the 3D Viewer Options dialog:
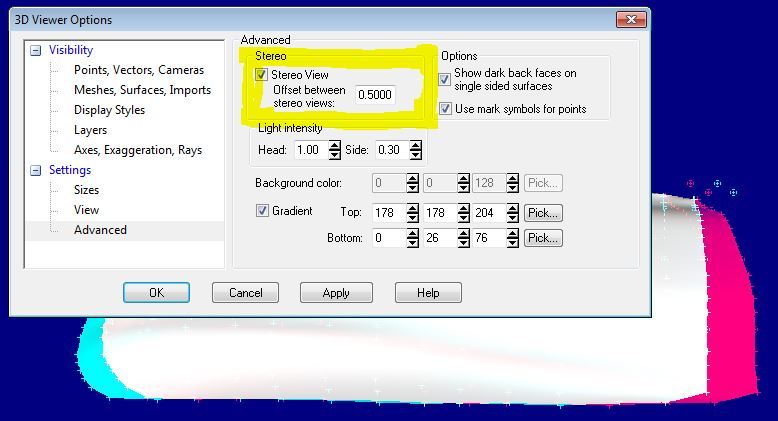
You may need to experiment with the offset setting and adjust for your glasses and/or distance to screen for optimal effect. Here’s the 3D Viewer showing the anaglyph feature for one of the PhotoModeler coded target tutorial projects:
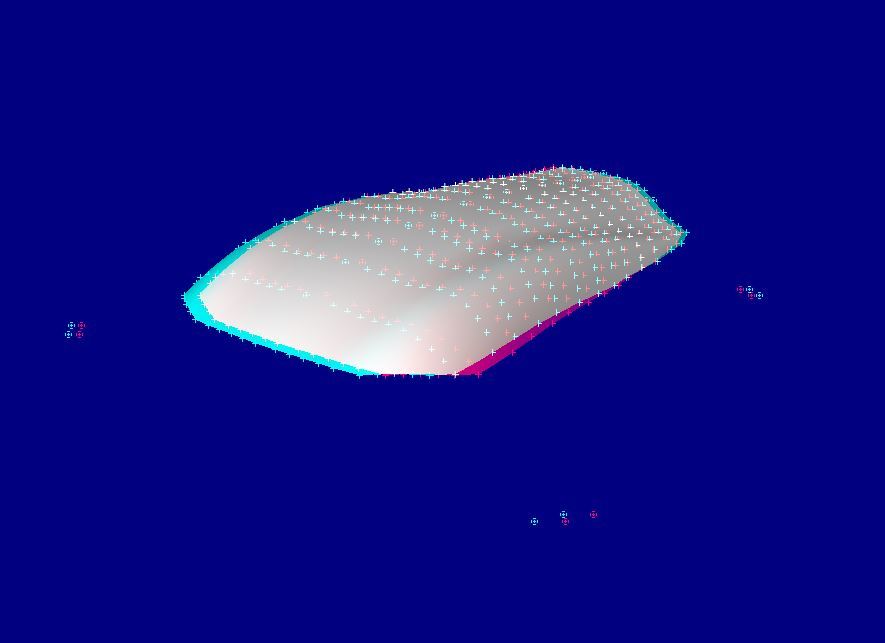
In PhotoModeler you can manipulate the viewer to spin/pan/zoom the display to really see the object pop out of the screen!
Watch the Youtube video for an overview: