
How It Works – PhotoModeler’s Coded Targets
How and When to use PhotoModeler's Automated Coded Target Methods
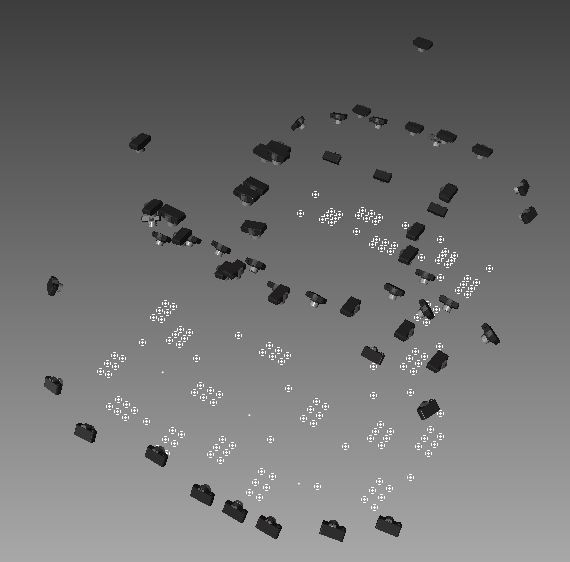
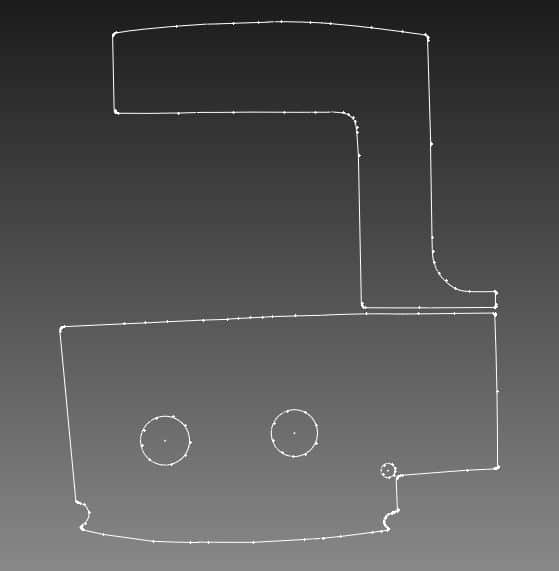
PhotoModeler’s target detection and marking tools are used when highly accurate 3D XYZ points are needed at key locations. PhotoModeler automatically detects applied or projected targets and solves for an accurate set of 3D points representing each target center. Coded targets provide the additional ability to automatically reference targets between photos. The resulting points can be used for line, curve, and surface modeling (and Surface Draw), or measurement and export as needed.
The Letter Sheet target system can be used to further automate the project setup - for example, automatically set up the coordinate system and plane definition for use in decking and similar projects.
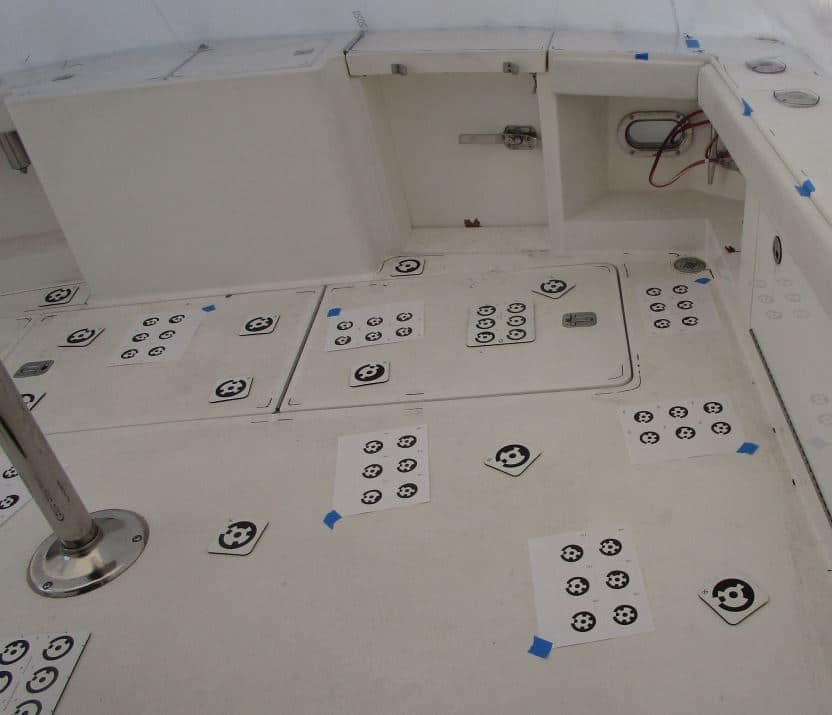
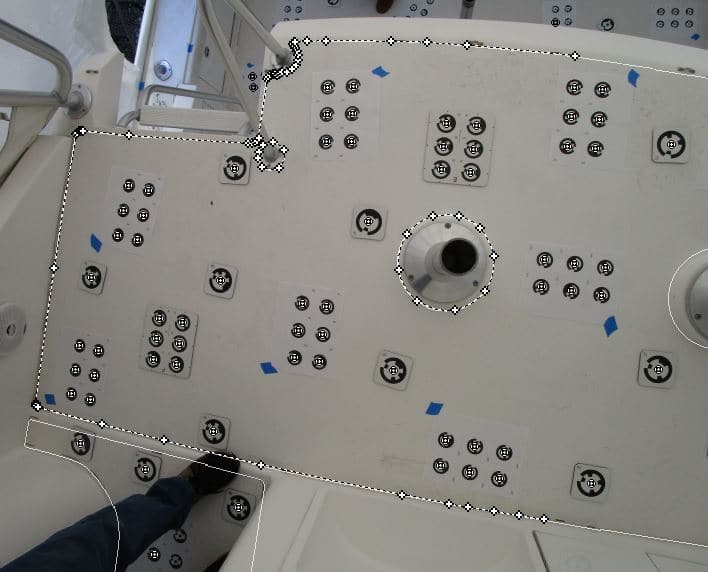
While the examples below discuss 3D object measurement, coded targets are also used extensively in 2D and 2.5D cases such as template digitizing, and boat deck measurement.
Appropriate Subjects | Photography | Examples | Tools to Use | Other Resources
Appropriate subjects
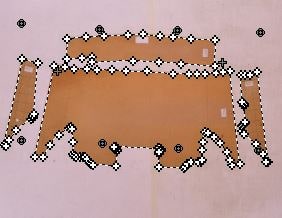
The appropriate subjects for target detection projects are 2D panel and template projects and projects with curved or complex surfaces that don’t have distinct feature points. Also good when the very highest point accuracy is required. PhotoModeler’s unique coded targets provide complete automation for many projects.
| 
|  |
 |  |  |
 |  |  |
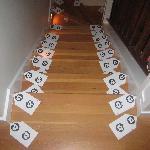
photography
Apply targets to the object or scene, then take photos at convergent angles, covering the targeted area with suitable overlap. For 2D decking or template projects, include photos taken perpendicular to the surface over areas of interest to facilitate Surface Draw.
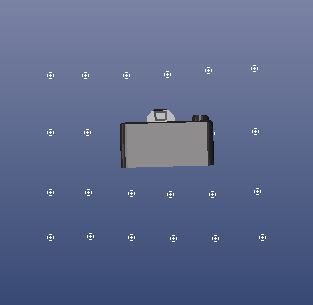
Try to capture 10-15 targets per image for good overlap/tie. Also take overview photos that capture large portions of a scene which helps tie sections of a model together.
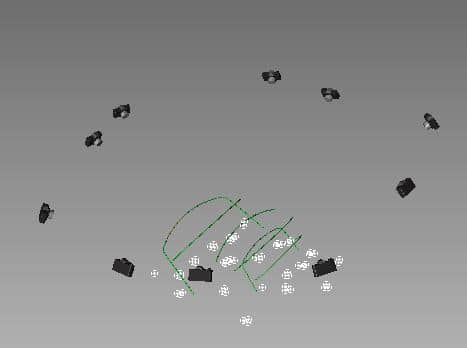
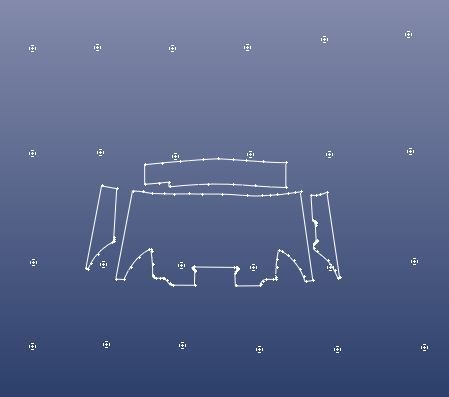
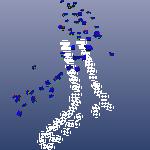
Separate the camera positions horizontally and vertically if possible, while ensuring targets are not photographed at too shallow an angle, as shown below:


examples
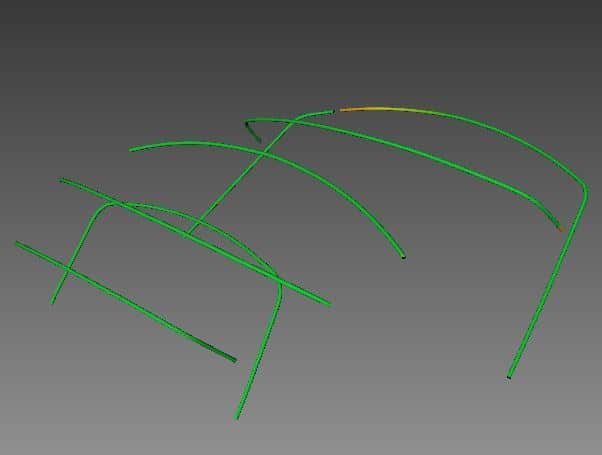
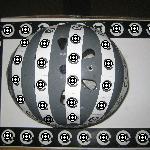
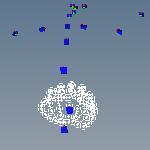
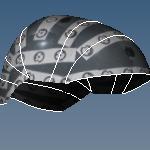
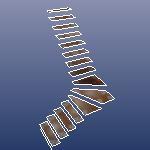
Here are some examples using this technique - with a brief description, a sample photo, the camera positions, and the 3D model for each:
Sample Description | Sample Photo | Photography Layout | 3D Result |
|---|---|---|---|
| 
| 
| |
 | 
| 
| |
| 
| 
| |
| 
| 
| |
| 
| 
|
tools to use
PhotoModeler tools used in these projects:
- Automated Coded Target Project setup
- Coded Target Marking
- Letter Sheets Targets and Coded Target Preset Configurations
- Surfaces, Surface Draw lines and curves, and other entities to build your required level of detail in the 3D model.
other resources
Study these tutorials and tips for help with creating a PhotoModeler projects that are automated with Coded Targets: