How It Works – PhotoModeler’s Mark and Reference
How and When to use PhotoModeler's Marking and Referencing Methods
Marking and Referencing is the process of manually matching common features across multiple photos. Click on a distinct visual feature on one photo and match it to the same feature on other photos taken from different angles.
Appropriate Subjects | Photography | Examples | Tools to Use | Other Resources
Appropriate subjects
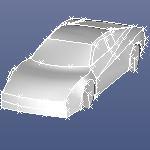
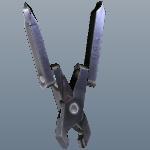
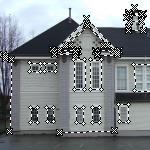
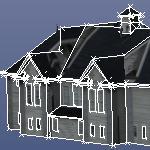
The appropriate subjects for manual marking projects are those with geometric characteristics like the objects shown in these images with distinct points, sharp corners and edges, etc. Then PhotoModeler's point, line, and curve tools can be used to build a wire-frame model including optional surfacing:
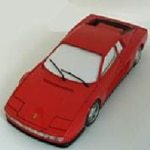 |  |  |
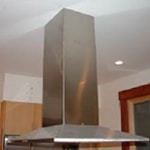 | 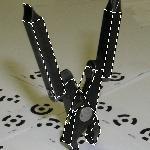 | 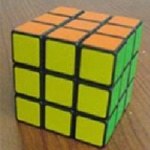 |
photography
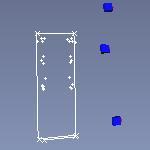
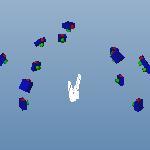
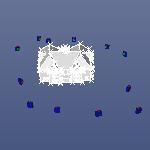
Take photos at convergent angles, covering the object or part of it with suitable overlap. Separate your camera positions horizontally and vertically if possible, as shown below:
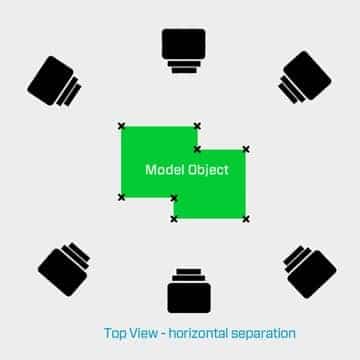
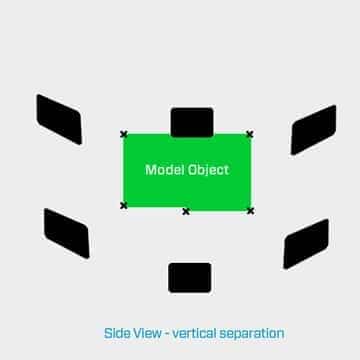
examples
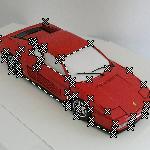
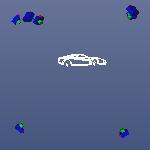
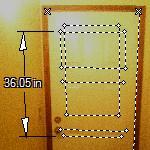
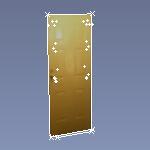
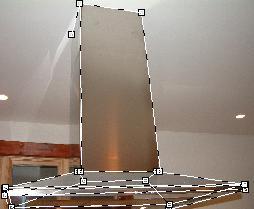
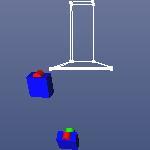
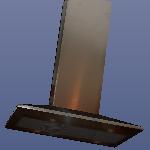
Here are some examples using this technique - with a brief description, a sample photo, the camera positions, and the 3D model for each:
Sample Description | Sample Photo | Photography Layout | 3D Result |
|---|---|---|---|
 |  |  | |
 |  |  | |
 |  |  | |
 |  |  | |
 |  |  |
tools to use
PhotoModeler tools used in these projects:
- Point Marking – mark points on distinct features in multiple photos.
- Referencing – reference marked points between photos to ‘tie’ them together.
- Add lines, curves, surfaces and other entities to build your required level of detail in the 3D model.
other resources
Study these tutorials and tips for help with creating a PhotoModeler wire-frame/surfaced measurement project:
