

PhotoModeler Premium can also estimate radial lens distortion parameters from a single image and straight lines on that image. This is useful for cases of high distortion with insufficient known data available to produce a good camera calibration. That is, a lack of good control points in all areas of the photo for a single photo case. This need comes up in forensics with security cameras and body cameras with wide angle lenses and high distortion.
The estimate can be used to Idealize images, or be used as a better starting point for a field calibration.
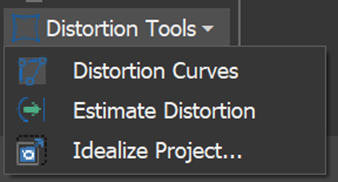
There are two tools used in this function: Distortion Curves and Estimate Distortion. These are available on the Create toolbar in the Photo section and are available in the Tool Search as well.
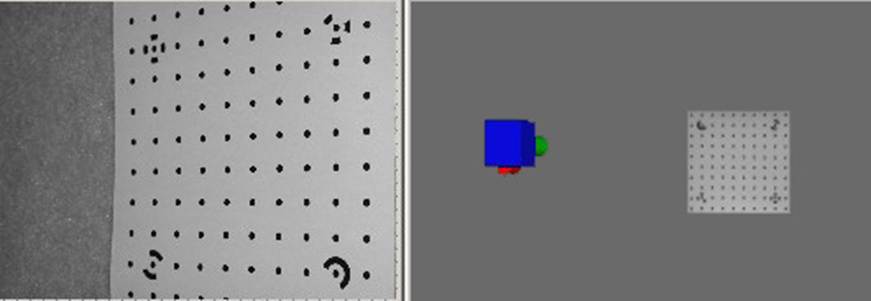
The first step is to open the photo and draw one or more distortion curves. Select the Distortion Curves tool, find a line that should be straight, but is now curved due to lens distortion, and click to mark points and the curve along that line. Right click to finish drawing. You can draw one or more of these lines/curves. The example below shows the straight edge of a white board drawn in a security camera image.
The next step is to estimate the distortion. Pick the Estimate Distortion tool and the Estimate Radial Lens Distortion dialog will open.
The controls in this dialog (from top to bottom) are:
• Camera to use: pick which camera in the project is being estimated.
• Number of distortion curves: will indicate how many distortion curves are being used in the calculation. This must be at least 1.
• Parameters to estimate: choose which of the K radial lens distortion parameters to estimate. We recommend that at least K1 is chosen and then add K2 and K3 and experiment with the results.
• Run Estimate button: this will run the estimation algorithm with the distortion curves and the K parameters chosen as input.
• The results section shows the output of the estimation algorithm. The fit numbers tell you how much ‘straighter’ the curve is. The smaller the Estimation fit value, in pixels, the better the estimation.
• The Idealize Preview button opens the Idealize Preview dialog for these solved parameters to provide visual feedback on the success of the estimate.
Below is a preview of the photo’s idealizing using the solved parameters for this security photo. Notice how the curved lines are now mostly straight.
Lastly, you can use this estimate by clicking the Use Estimate button. This will set the solved K values into the camera that is chosen at the top. And you are given the option to re-solve the project with these new values.